Nina Taylor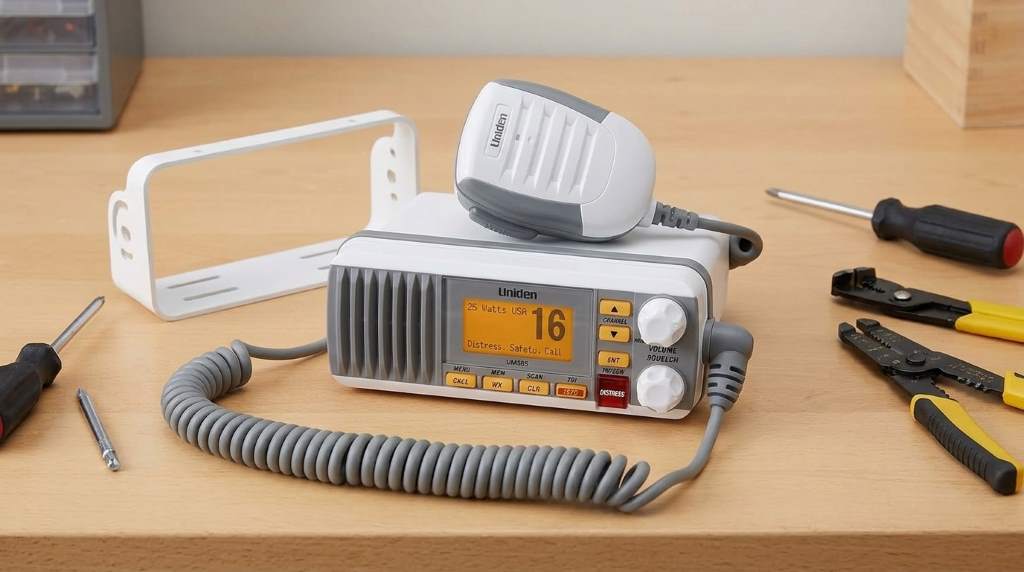
Installing a Uniden UM385 Fixed Mount Marine Radio requires a secure mounting location, proper power wiring, a reliable VHF antenna connection, and a final radio check. Following the correct installation steps improves communication reliability and helps ensure dependable performance whenever you are on the water.
Marine communication equipment improves safety during every boating trip. According to the U.S. Coast Guard, reliable VHF radios remain one of the most important onboard safety devices, while recreational boating continues to involve millions of registered vessels annually. If you own a Uniden um385 fixed mount marine radio, correct installation ensures dependable communication and full radio performance. This guide explains every installation step using simple instructions that beginners and experienced boat owners can easily follow.
Why Proper Installation Matters
A properly installed marine radio provides stronger signal transmission and better reception. It also protects the radio from electrical issues and unnecessary damage.
Correct installation improves emergency communication during unexpected situations. Furthermore, it helps maintain reliable performance throughout many boating seasons.
Tools and Materials You Need
Prepare every tool before beginning the installation process. Having everything nearby reduces installation mistakes and saves valuable time.
- Uniden UM385 marine radio
- Mounting bracket and hardware
- Marine grade power wire
- Inline fuse
- Wire crimp connectors
- Wire stripper
- Screwdriver
- Electric drill
- Marine VHF antenna
- Antenna coaxial cable
- Cable ties
- Silicone marine sealant
Choose the Best Mounting Location
Select a dry location with easy access while operating the boat. Visibility should remain clear without blocking important controls or navigation equipment.
Avoid placing the radio near engines or strong electrical equipment. Consequently, you reduce electrical interference and improve communication quality.
Keep the Radio Protected
Although the UM385 offers marine durability, avoiding constant water exposure remains important. A protected location extends the radio’s overall service life.
Leave enough space behind the unit for cable routing and ventilation. This extra clearance also simplifies future maintenance.
Install the Mounting Bracket
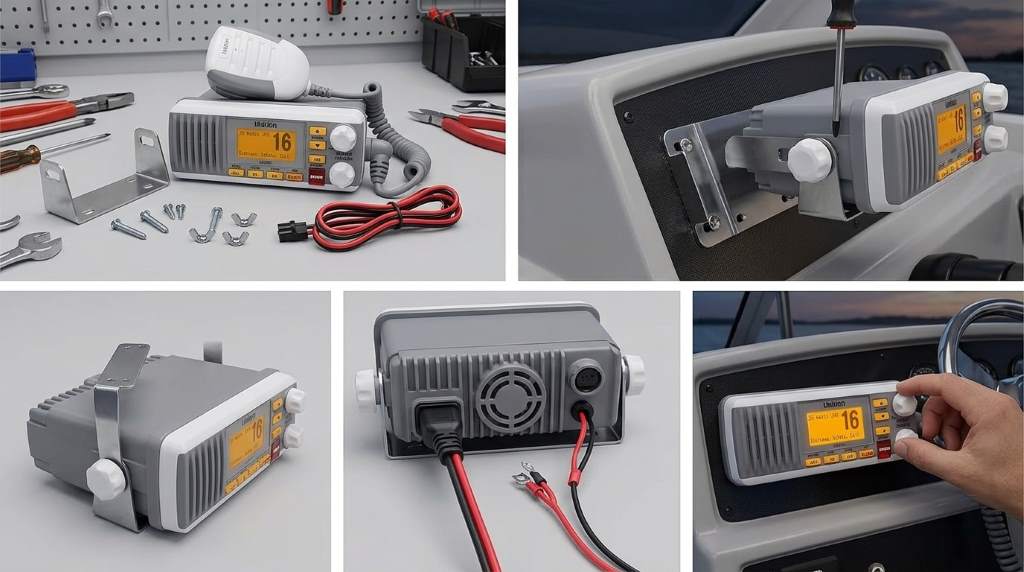
Position the supplied bracket against the selected mounting surface carefully. Then verify that every angle remains comfortable for viewing and operation.
Mark each screw location using the bracket as a template. Next, drill pilot holes before securing the bracket firmly.
Apply marine sealant around drilled holes whenever needed. Therefore, water cannot enter sensitive areas beneath the mounting surface.
Mount the Radio Securely
Slide the radio into the installed mounting bracket carefully. Tighten the side adjustment knobs until the viewing angle feels comfortable.
Check that the radio remains stable while the boat moves. A secure installation prevents vibration related damage during rough water conditions.
Connect the Power Supply
The UM385 operates from a twelve volt DC electrical system. Always disconnect the battery before connecting electrical wiring.
Connect the positive wire through the supplied inline fuse. Afterwards, attach the negative wire directly to the battery ground connection.
Use marine grade connectors and waterproof crimps for every electrical connection. This practice reduces corrosion and improves long term reliability.
Verify the Fuse Rating
Never replace the recommended fuse with a larger alternative. Using the correct fuse protects the radio against electrical damage.
Inspect every connection before restoring battery power. Loose wiring may reduce performance or prevent startup completely.
Install the Marine VHF Antenna
The antenna greatly influences transmission distance and reception quality. Therefore, installing it correctly remains equally important as mounting the radio.
Mount the antenna at the highest practical point on your boat. Greater height usually provides better communication coverage.
Route the Antenna Cable
Keep the coaxial cable away from engine wiring whenever possible. This routing minimizes unwanted electrical interference during radio operation.
Avoid sharp cable bends or crushed sections while routing. Damaged coaxial cable significantly reduces signal quality.
Connect the Antenna
Thread the antenna connector securely onto the rear radio port. Tighten the connector by hand without using excessive force.
Double check every cable connection before powering the radio. Proper installation prevents poor transmission performance later.
Organize and Secure All Wiring
Bundle excess wiring using quality marine cable ties. Organized wiring improves airflow and creates a cleaner installation.
Keep power cables separated from antenna wiring whenever possible. Consequently, electrical interference becomes much less likely.
Power On the Radio
Reconnect the battery after completing every wiring connection. Turn on the radio using the front power control.
The display should illuminate immediately without unusual behavior. If the radio fails to start, inspect every electrical connection again.
Perform Basic Radio Setup
Select the appropriate channel settings according to your boating requirements. Adjust the squelch control until background noise disappears.
Set the preferred volume level for comfortable listening. Afterwards, verify that weather channels operate correctly if available.
Test Radio Performance
Conduct a radio check using approved communication procedures. Never perform unnecessary emergency transmissions during testing.
Listen carefully for clear incoming audio quality. Likewise, confirm that outgoing transmissions remain strong and understandable.
Common Installation Mistakes to Avoid
Several simple mistakes reduce radio performance and reliability. Fortunately, most issues remain easy to prevent.
- Skipping the inline fuse installation
- Using household electrical connectors
- Installing the antenna too low
- Routing antenna cables beside engine wiring
- Leaving loose mounting hardware
- Ignoring waterproof cable protection
- Operating without testing the installation
Maintenance Tips After Installation
Inspect wiring and antenna connections several times throughout the boating season. Early inspections help identify corrosion before serious problems develop.
Clean the radio using a soft damp cloth only. Harsh cleaning chemicals may damage buttons and display surfaces.
Examine mounting hardware after rough water trips regularly. Tightening loose components prevents future vibration damage.
Final Thoughts
Installing the Uniden UM385 Fixed Mount Marine Radio becomes straightforward when every step follows proper marine installation practices. Careful mounting, correct wiring, and professional antenna placement provide dependable communication for every boating adventure.
Take your time during installation and inspect every connection carefully. Once finished, perform a complete radio test before your next trip and enjoy reliable onboard communication with confidence.
Frequently Asked Questions
Can I install the Uniden UM385 myself?
Yes, most boat owners can install it by carefully following the installation instructions.
Does the radio include an antenna?
No, you must purchase a compatible marine VHF antenna separately.
Should the antenna be mounted as high as possible?
Yes, higher antenna placement usually provides better communication range.
Can I connect the radio directly to the battery?
Yes, but always use the recommended inline fuse for protection.
How often should I inspect the installation?
Inspect wiring, mounting hardware, and antenna connections several times each boating season.